Create an Event Site for Your Tournament
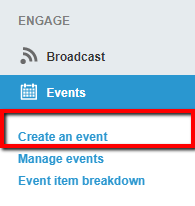
- In the left navigation bar, hover over Events and click Create an Event
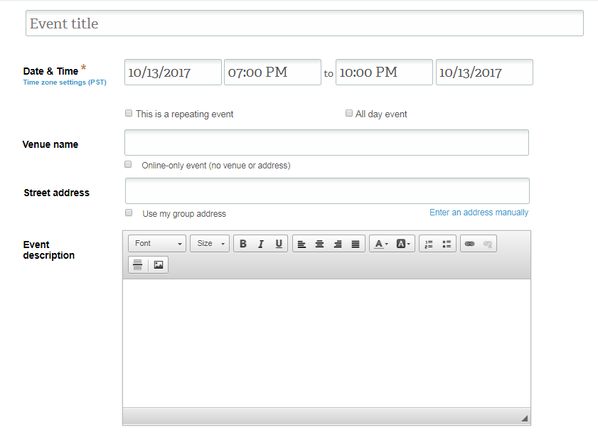
2. Fill out the standard event information: event title, start and end times, venue, address, and a customized description of the event
- The description field is where you can provide details for your tournament. Spruce it up and get your golfers and guests excited about going. The more descriptive the better.
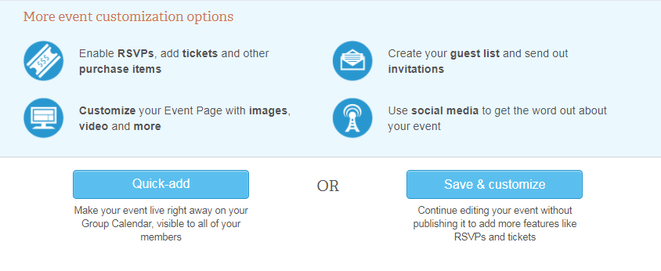
3. Click the Save & Customize button to save changes and continue editing
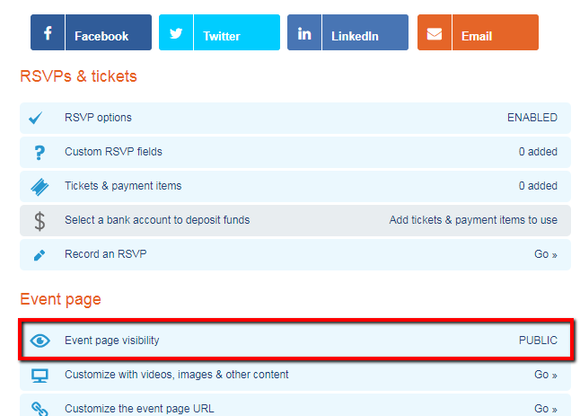
4. On the Event Page section, select Customize With Videos, Images, & Other Content
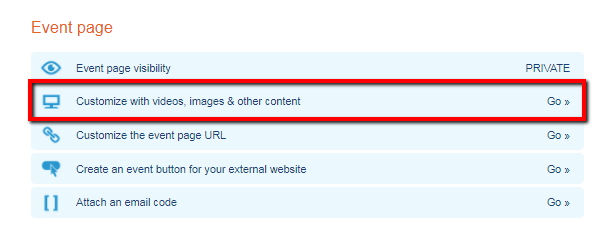
From here you can click on a section to customize the following:
- Banner Image: Upload a 900 pixel wide .jpg or .png file. An image of the golf course you’re playing at for a home or away tournament looks great in this area.
- Videos: Add a YouTube or Vimeo video to promote your tournament.
- Event Page Link: Customize part of the event site URL to make it more memorable.
5. When finished making desired edits, click Save & Close
Make Your Tournament Private
A private or members-only event requires that your members log in to buy tickets or RSVP. By default, events are set to public for anyone to purchase tickets. Making your tournament private is the best option because when members log in, their GHIN numbers are automatically associated with their records. If you are also using Golf Genius to manage your tournaments, all of your registration info can be easily exported from memberplanet by viewing your RSVPs.
- On your event dashboard, in the Event Page section, click Event Page Visibility
2. In the pop-up screen that appears, click the Change to Private button
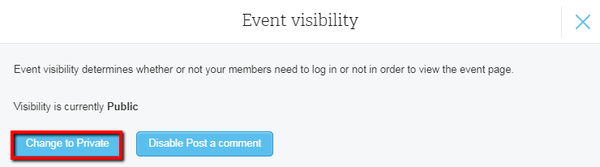
- You will be taken back to your event dashboard upon clicking.
RSVPs: Hide the 'Maybe' Response Option
For tournaments, it’s recommended that you enable RSVPs and hide the ‘maybe’ response option, so you can get an accurate headcount as it pertains to max attendees. By default, RSVPs are enabled as soon as you publish your event. You can always customize RSVPs to begin on a specific date.
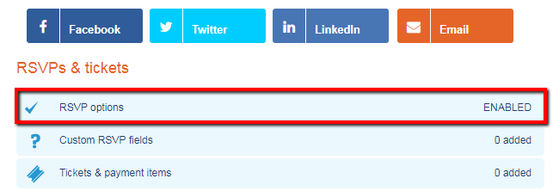
- On your event dashboard, in the RSVPs & Tickets section, click RSVP Options
2. Next to Reply Choices, check the box to hide the ‘maybe’ response option
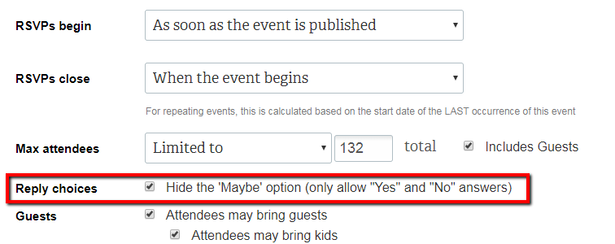
3. Click Save & Close at the bottom
Add Tickets, Prices, and Quantity Options
This is the area where you can customize min-max quantity settings and add additional games, such as skins.
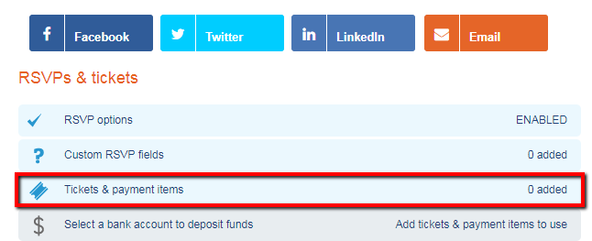
- On your event dashboard, in the RSVPs & Tickets section, click Tickets & Payment Items
2. Enter ticket or item info and min-max quantities
- Label: This is the name of the ticket that will be displayed.
- Price per Item: Select Fixed Price from the dropdown unless you happen to be collecting an optional donation.
- Limit per Person: Select Min-Max from the dropdown, then enter min-max quantities if applicable.
- Total Inventory Limit: Add your inventory cap or the max quantity that is available to be bought.
- Required to Attend the Event: Select the checkbox if applicable.
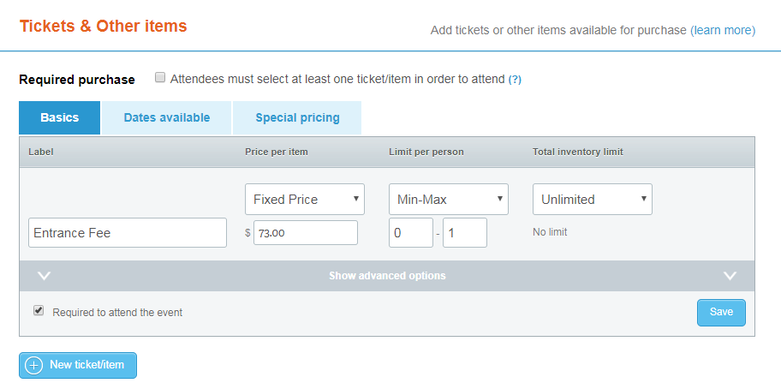
3. Click Save
4. Select New Ticket/Item and repeat steps 2-3 until you finish adding all your tickets or items
4. Select New Ticket/Item and repeat steps 2-3 until you finish adding all your tickets or items
- Your finished ticket list might look something like this:
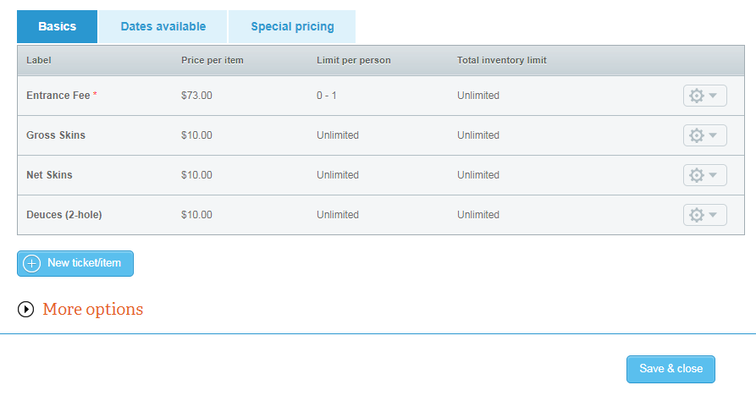
5. Click Save & Close at the bottom when finished
- The Special Pricing tab is where you can set up early-bird pricing or member-level discounts.
Customize RSVP Fields for Pairings
You can set up pairings or grouping requests in your custom RSVP field settings.
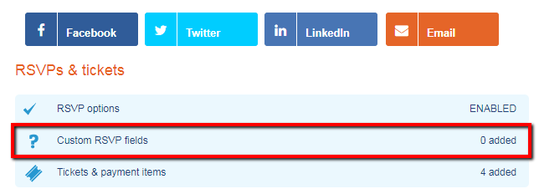
- On your events dashboard, in the RSVPs & Tickets section, click Custom RSVP Fields
2. Select Add a Custom Field

3. Fill in the details for the custom field:
- Label: This will be displayed to the user.
- Type: Choose an option from the dropdown menu. Basic Text is recommended.
- Required: Select whether filling in this field is necessary for all attendees.
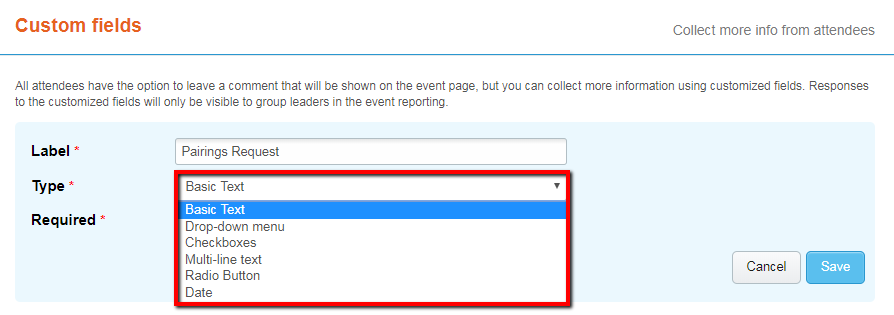
4. Hit Save
- Repeat steps 2 - 4 until you are finished adding custom fields.
Link a Bank Account
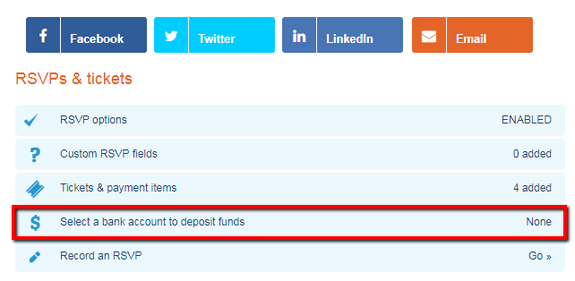
In order to receive the funds you collect from selling tickets for your tournament, you must link a bank account to your event.
- On your event dashboard, in the RSVPs & Tickets section, click Select a Bank Account to Deposit Funds
2. Click the Bank Account dropdown menu to choose a bank account you have already added or select Add a New Bank Account
Note: If this is your first time adding and linking a bank account, we require you to verify your bank account as a security measure. Please see How to Add and Verify Your Bank Account for full instructions on the memberplanet Support Center. (Link will open in a new window.)
3. Click Save & Close
- If you add a new bank account, you will be required to fill in the bank account’s information fields.
Note: If this is your first time adding and linking a bank account, we require you to verify your bank account as a security measure. Please see How to Add and Verify Your Bank Account for full instructions on the memberplanet Support Center. (Link will open in a new window.)
3. Click Save & Close
Publish and View Your Event Site
When you are ready to make your tournament page live, click the Publish Now button on your event dashboard. You should publish your event before sending invitations, or else members will not be able to view it.

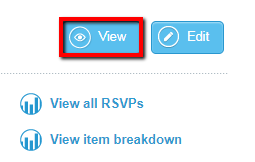
View your event page by clicking on the View button near the top right.
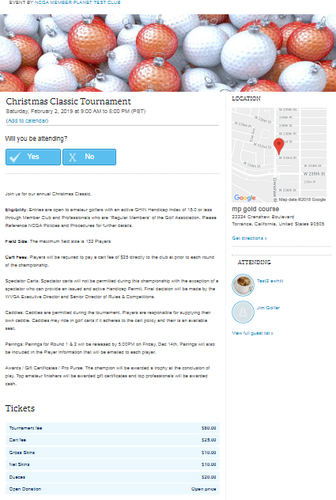
Here is an example of published event page when viewing from a member’s logged-in view. (Click to view the event site.)
Set Up Your Guest List
Adding golfers to your guest list is the best way to send out invitations, because you’ll be able to target your guests with Smart Lists and other communication tools on the platform.
- On the left navigation bar, click Events
- Click on the event name
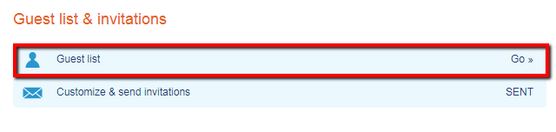
- In the Guest List & Invitations section, select Guest List
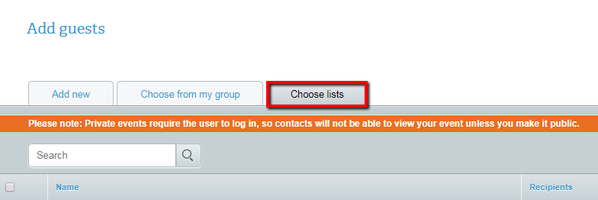
4. Begin adding your guests using the following tabs:
- Add New: Import guests using an online address book or add new contacts manually.
- Choose From My Group: Choose existing members by clicking on the checkbox next to their names.
- Choose Lists: Click the checkbox for each distribution list you would like to use.
5. Once you have set up your guest list, click Save & Close to edit another section, OR click Continue to Invitations to customize your invitation before sending

Record a 'Yes' RSVP or Offline Payment
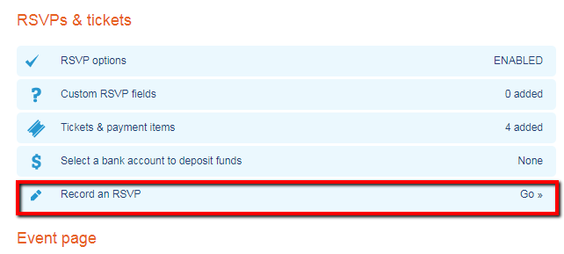
As an admin, you can record an RSVP on behalf of a member. In the case that someone wants to pay by cash or check, or wants to RSVP but doesn’t have access to your event site, admins can record an offline payment.
- On the left navigation bar, click on Events
- Click on the event name
- If it is a past event that you are trying to update, you will need to click on Past Events to navigate to it.
4. Enter the person’s required, basic information: first and last name, email address, and number of people attending
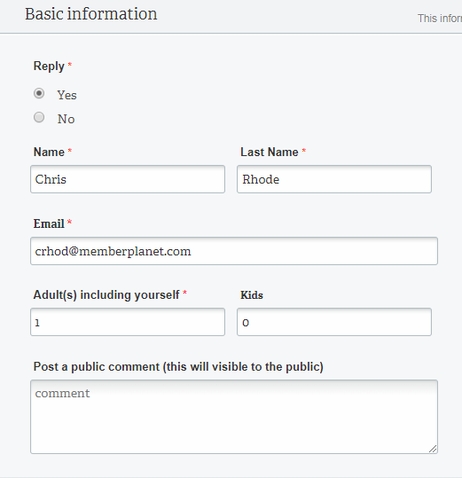
5. In the Tickets & Other Items section, enter in the ticket quantities and select a payment type from the dropdown menu
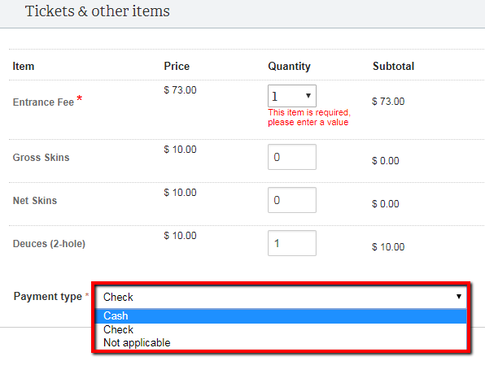
6. Click the Continue button at the bottom
- The RSVP and offline payment will be recorded and you will be taken to your RSVP list.
View and Edit RSVPs
You can view a list of all your RSVPs and make any edits. From here, you can export your data if you need to import it into another tournament management system.
- On the left navigation bar, click on Events
- Click on the event name
- If it is a past event that you are trying to update, you will need to click on Past Events to navigate to it.
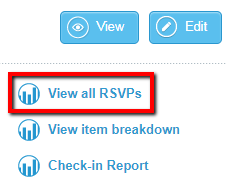
- A list of RSVPs will be displayed, which you can filter and export.
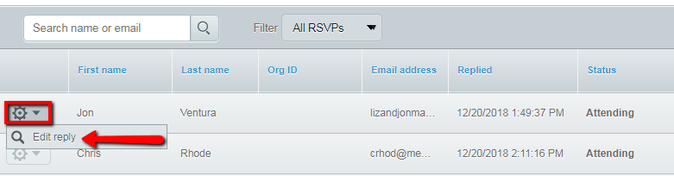
5. Make desired changes to the person’s reply or ticket quantities
6. Save changes by clicking the Continue button at the bottom
6. Save changes by clicking the Continue button at the bottom
- Your edits will immediately be recorded and you will be taken back to a list of all RSVPs.